February
23, 2008
I
had to dismantle my Likamobile a bit, as I had quite a bit put
together for pictures and trial fitting. I was able to perform
the engine modification with the engine in the chassis, just
had to raise the chassis on jack stands so I could sit on the
floor and perform the work.
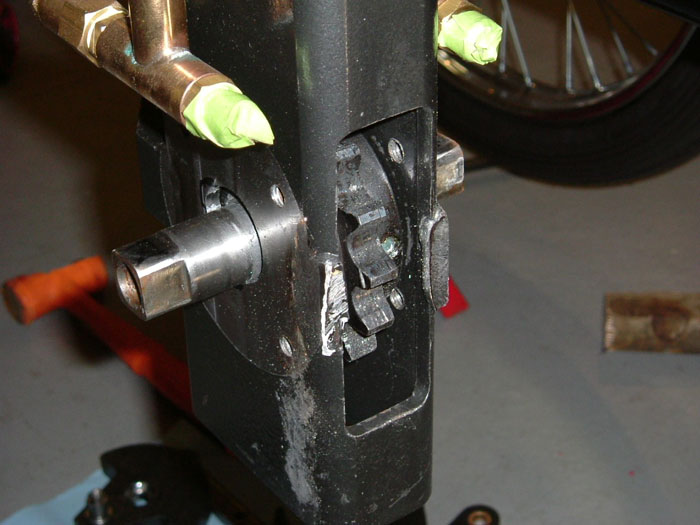
Dismantle the valve train, reverse of assembly in Kit 10. If
you Loctited all the bolts like I did, silly me I thought it
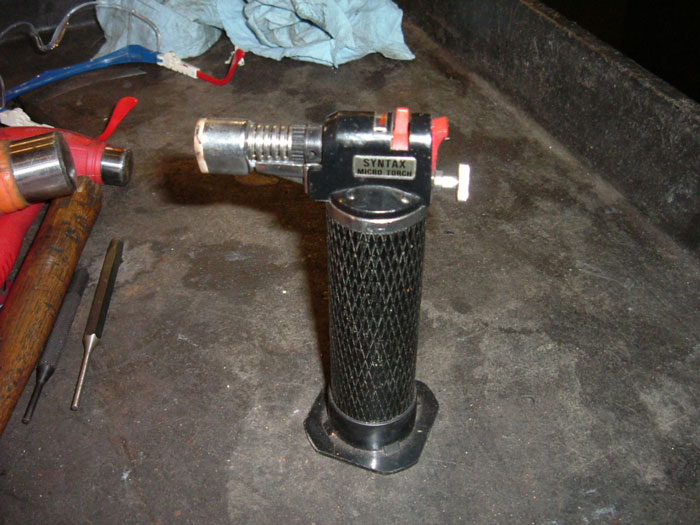
was finished, you may have to heat up the bolts slightly in
order to break down the Loctite. I used a mini torch and put
the flame on the center of the bolt head for a few minutes and
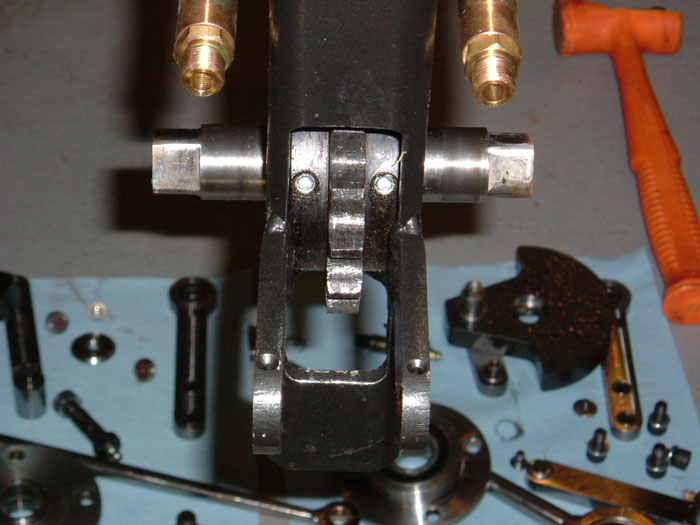
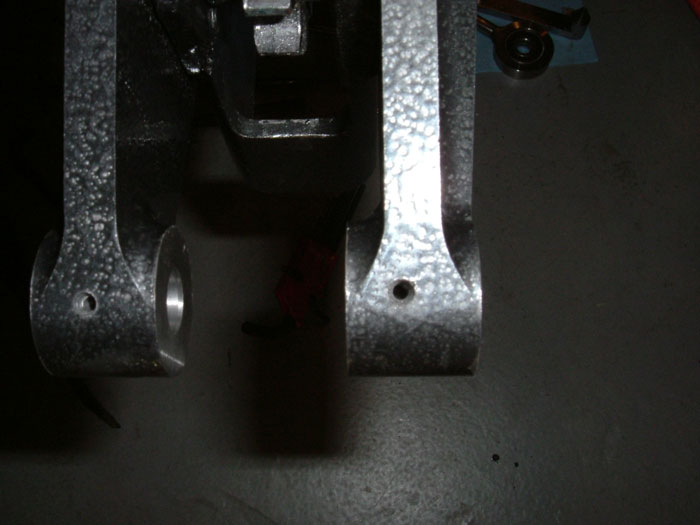
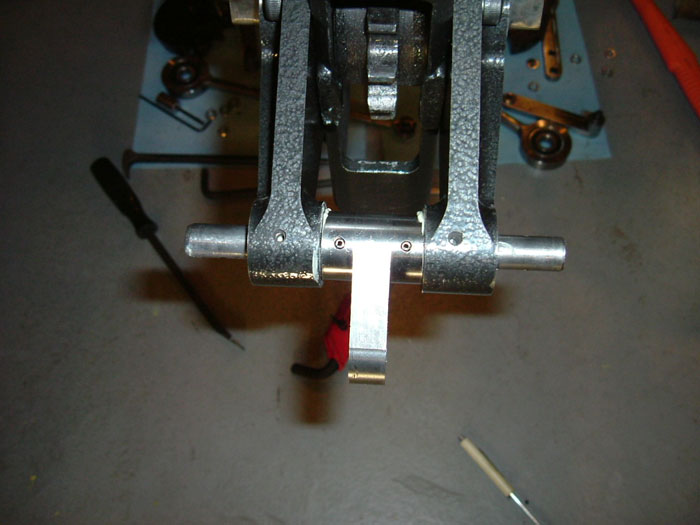
they all broke free rather easily. With the valve train and
crank bearing removed I marked where I was to cut the old brackets.
Note: tape the open water pump pipes so you don't get filings
into the water pump. I used a sawzall, reciprocating saw, and
a grinder to clean up the edges.
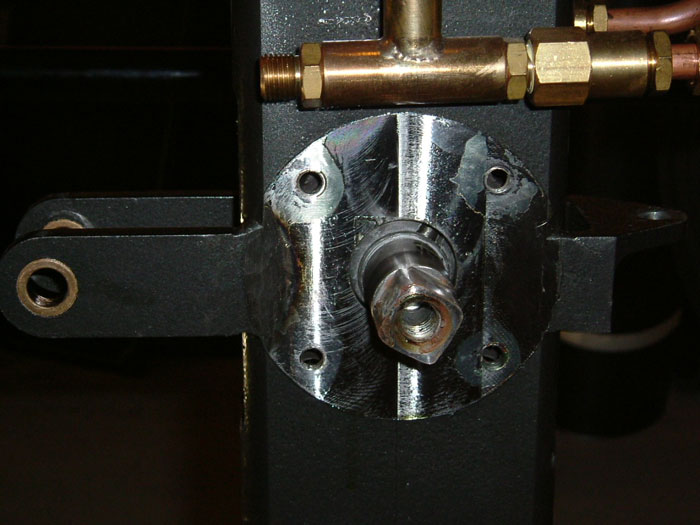
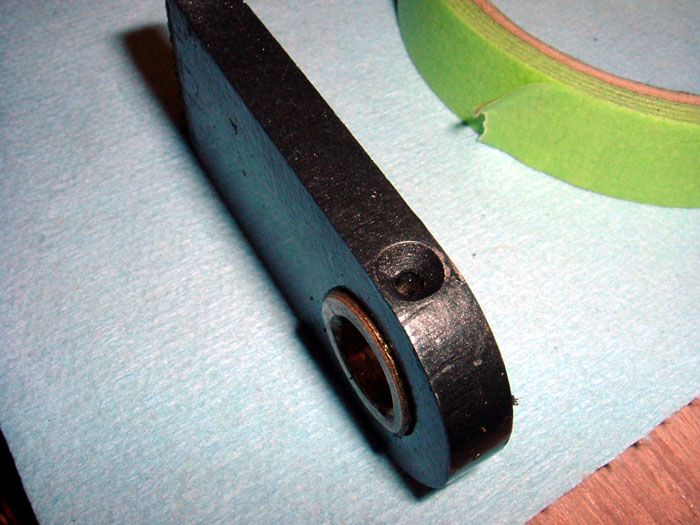
I used a propane torch to heat up the old bearing flanges to
break down the retaining glue for the bearing. Once heated the
bearing came out with a brass drift, clean up the parts and
install into the new flanges with the retainer adhesive. I had
to hone out the hole slightly for the bushing to fit the new
flange. I noticed there weren't any lubrication holes in the
new flange like there were in the old tabs we cut off. Using
a 7/64 drill bit I drilled a lubrication hole in the center
of the small boss for the valve arm and followed with a chamfer
bit.
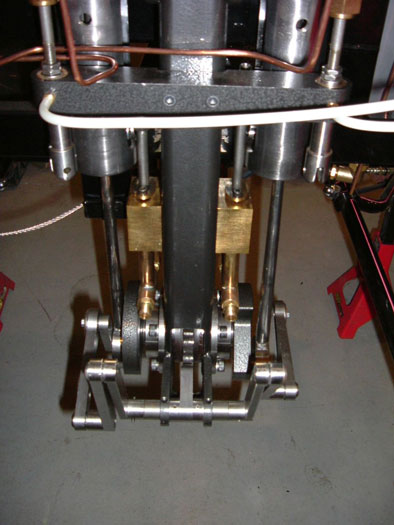
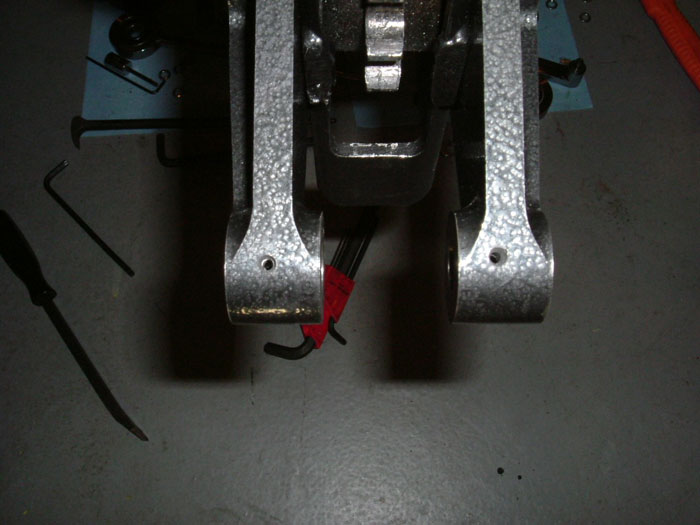
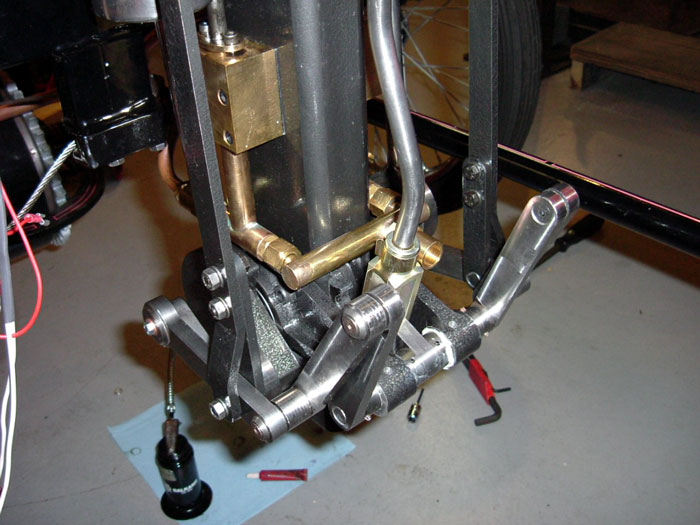
Started reassembly of the crank bearings, webs, valve train,
and the connecting rod. Note: clean the old Loctite from the
bolt threads before reassembly using Loctite. Hint: leave the
bolts holding the bearing flanges slightly loose, install the
reversing shaft and center reversing arm first, then evenly
torque the crank bearing bolts into place. Reinstall the valve
linkage using the original reversing arms that we got with Kit
10, no one threw them away did they.
6.0 Hours
Feb.
24
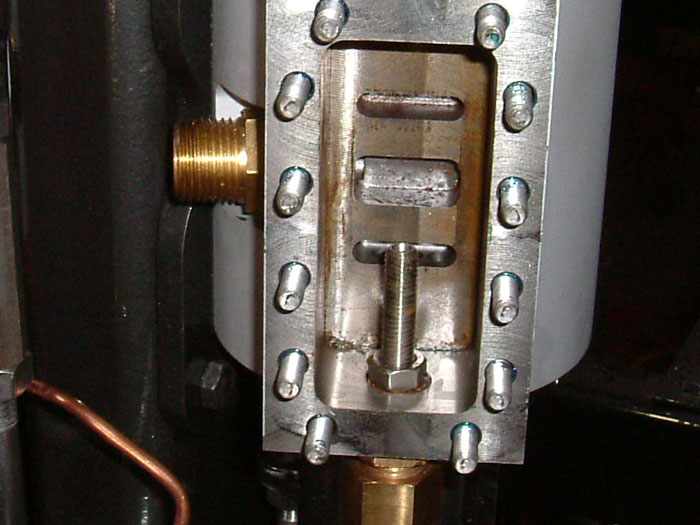
With the modification done and the valve train reassembled I
now had to retime the engine as per the instructions from Kit
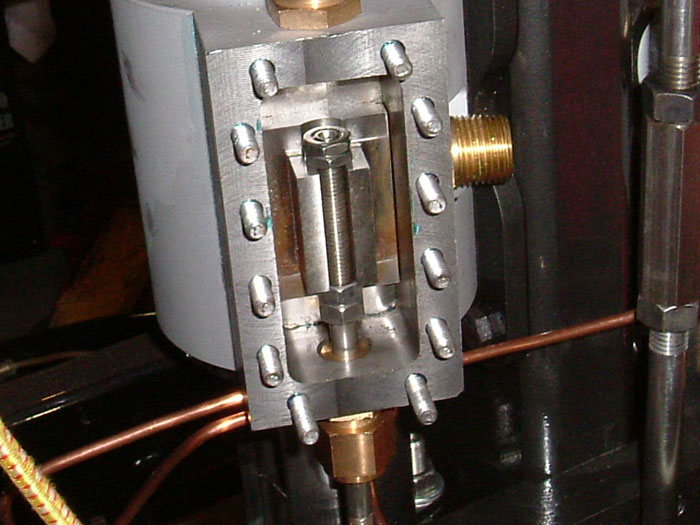
10. I removed the steam chest cover and started the timing procedure,
unfortunately due to the change in valve geometry I only had
2 threads of the valve shaft engaging into the valve stem. I
had to install another full nut under the slide valve and use
the 2 half nuts for securing on the top of the slide valve.
This essentially moved the shaft into the stem another 5 threads
for better thread engagement. I then set the valve opening as
described in Kit 10. Installed the covers with fresh Hylomar
sealer, also; I installed the valve shaft packing, if you haven't
done this yet, now is the time.
I primed the steam oil pump with steam oil, I'm using Texaco
Vanguard 1000, I also primed the drip oilier with Hypoid 75-140
gear oil. I did remove the foam filter in the oilier so the
oil will flow easier. I use the Hypoid oil because it clings
and won't get thrown off as easily as regular oil and it uses
less.
4.0 Hours
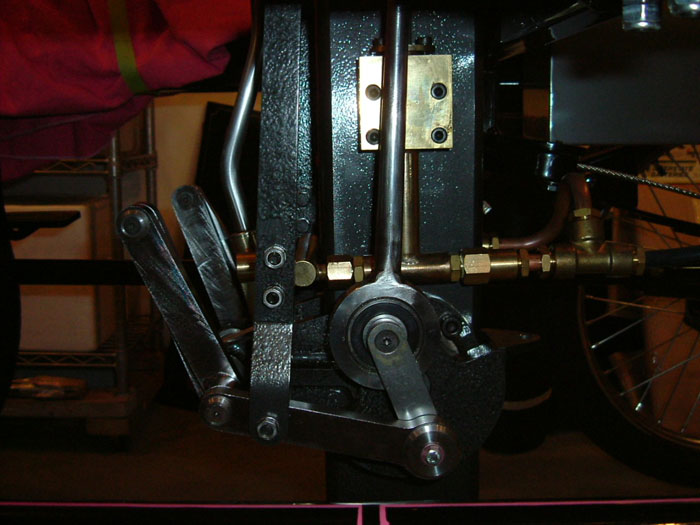
The engine modification wasn't difficult, you just had to pay
attention to the process, especially the valve timing. As usual
the machined flanges are works of art. I continued with my Black
Hammered paint scheme on the engine.
My next installment will be the installation of the boiler/
burner and its plumbing.
Happy
Building
Rick
Click
pictures to enlarge
Likamobile
Home •
Kits One and Two
•
Kits
Three and Four •
Kits
Four-B and Five
•
Caliper Correction
Kits
Six and Eight •
Kit
Seven •
Kit
Eight •
Kit
Nine •
Kit
Ten •
Kit
Ten Addendum •
Kit Eleven
Kit
Twelve •
Kit
Thirteen •
Kit Fourteen •
Kit Fifteen •
Year End •
Kit Sixteen •
Leaf Spring Modification
Kits
Seventeen / Eighteen •
Engine
Modification •
Boiler
Installation •
Burner
Installation
Fuel
Line, Brake & Throttle Pedal Installation •
Final Kit •
Final Assembly & Steam
Up
Road Test & Modifications
• Purge
Modification