June
2, 2006
Kits
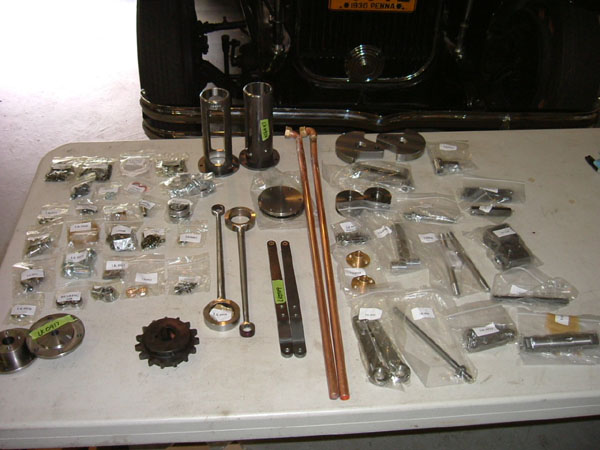
10 and 11 arrive and parts inventory checked and accounted for.
I had a small shipping mishap as the tube of Loctite was crushed
and there was green goo throughout the bag of parts, the fact
that the parts are all individually bagged, only the bags were
sticky. Lots of parts, about 220; WOW!
1.5 Hours
I chose to assemble Kit 11 first so I wouldn't have the large
panels in the way and I wanted to see what the body would look
like mostly completed.
June
14
I can't emphasis this enough, READ the Assembly directions and
become very familiar with the parts and they're locations. As
MW's has already informed us in their notes you won't be performing
a lot of the final assembly, as there is a problem with the
piston rods and the reversing arms, the new parts will arrive
later. I chose to assemble this kit now to have all parts fitting
properly and to become familiar with the engine and how it will
operate.
Pre fit everything! MW's states to take your time and
file, fettle, and fit so all parts can be assembled with a slight
amount of pressing or driving on with a mallet. If your parts
won't go together now it won't go together for final assembly
on the engine.
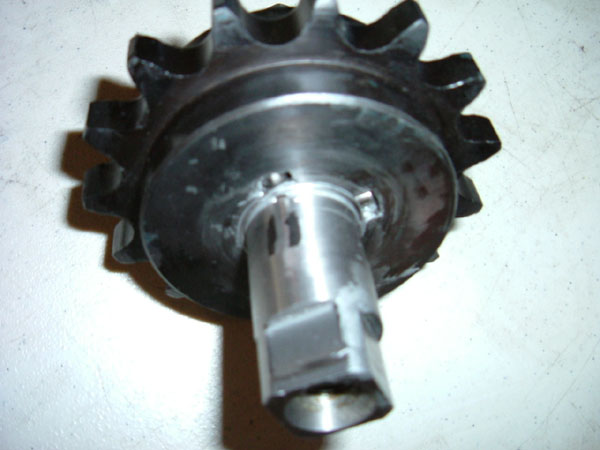
After using a die grinder to radius the tube web for the drive
gear to fit inside, I started the fitting process of drive gear
to the center crankshaft. This process took some time as I wanted
the gear and shaft to be driven together with a rubber mallet
and come apart the same way. After fitting the keyways, I Loctited
them to the shaft only. I used Antiseize lubricant to make driving
the parts together easier.
4.0 Hours
June
15
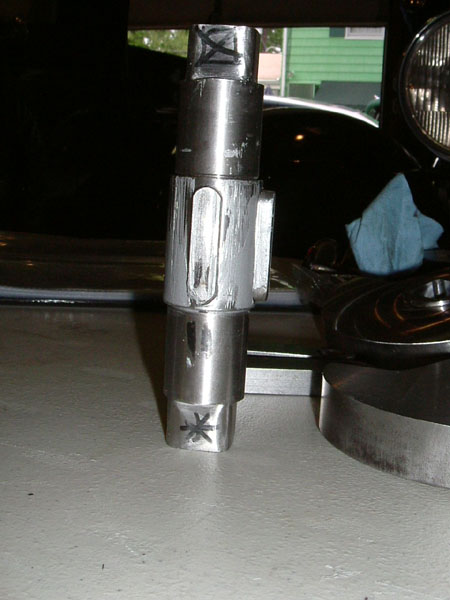
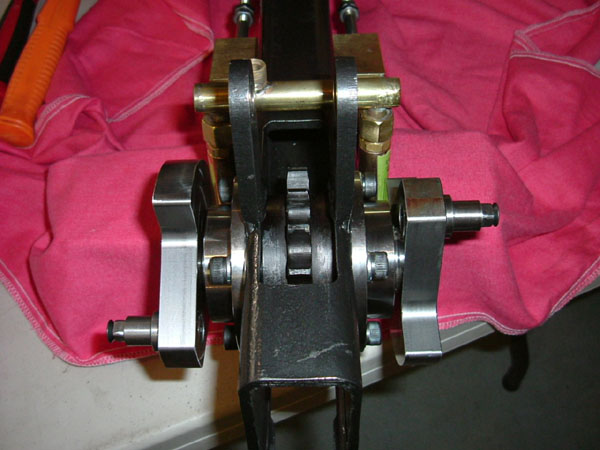
More fettling and prefitting; now the crank pins and center
shaft to the crank webs. Make sure that you prefit the crank
pins 0906 and return crank 0933. If you fit the crank pin to
the web first, it is easier to hold onto the pin to fit the
return crank.
The crankshaft with keys will not fit through the hole
in the beam; I cut 2 notches in one side of the beam that match
up with the keyways on the crankshaft. This way you won't loose
the machined centering that MW's has done. Fit the drive gear
and the crankshaft as per instructions. This should go quite
straightforward if you fit everything previously. When assembling
the crankshaft bearing cap screws I had to add a lock washer
under each so the bolts would clear the drive gear. Gradually
tighten these cap screws evenly or you may experience some bearing
bind, if you can turn the drive gear with your finger you are
good to go. I then took each cap screw out one at a time and
reassembled them with the Loctite, also the setscrews for the
drive gear. Assemble the web assemblies, double check the positioning
as noted.
3.0 Hours
June
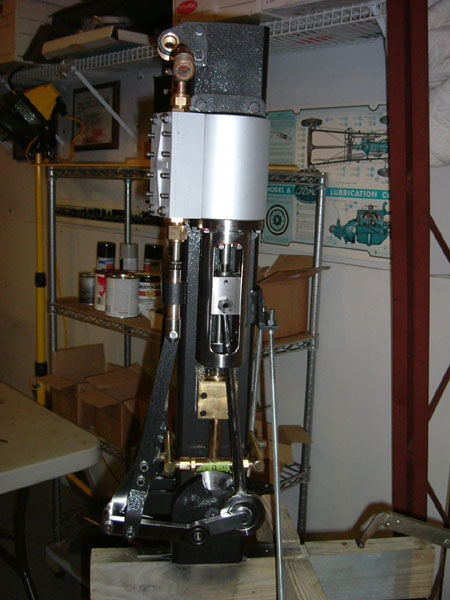
16
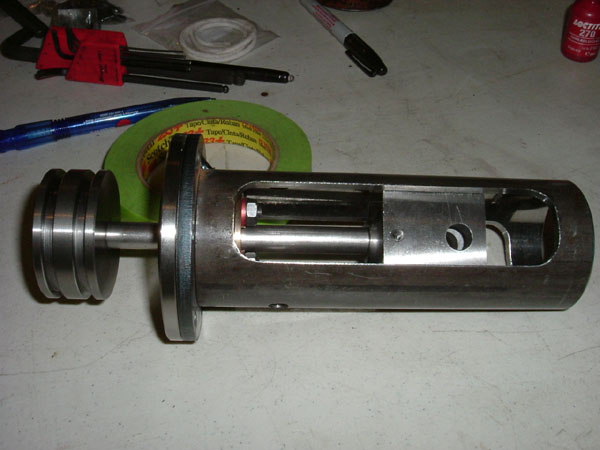
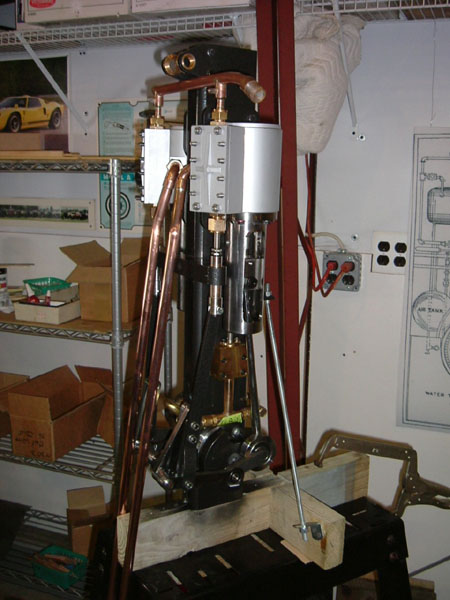
I chose to polish the connecting rods and the crosshead guide
tubes. I started the piston assembly, less the rings, since
I know I will be dismantling this again.
Make sure you align the steam reliefs with the holes
of each cylinder for LKO917 (rear cylinder cover) before marking
where to clearance the main beam.
I used a washer as a spacer under each nut for the packing
assembly as the nuts would bottom out on the stud shoulder,
cut the excess stud as instructed.
After fitting the piston assembly and the connecting
rod it becomes apparent why the piston rods will be replaced,
they are too short and won't allow the crank to completely rotate
as the piston bottoms out in the cylinder. I backed off the
piston rod about 2 threads and the crankshaft is now able to
completely rotate with out collision. Note: I only snugged everything
up just to see how the engine will operate; I know it will have
to come apart for the new parts. Also note that the kit did
not include the set screws/grub screws for the crossheads.
3.5 Hours
June
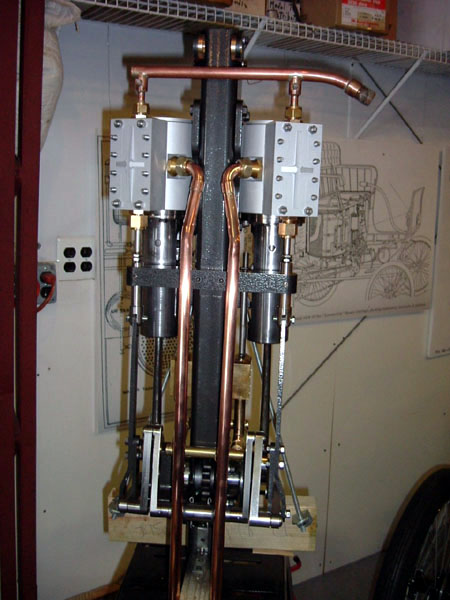
19
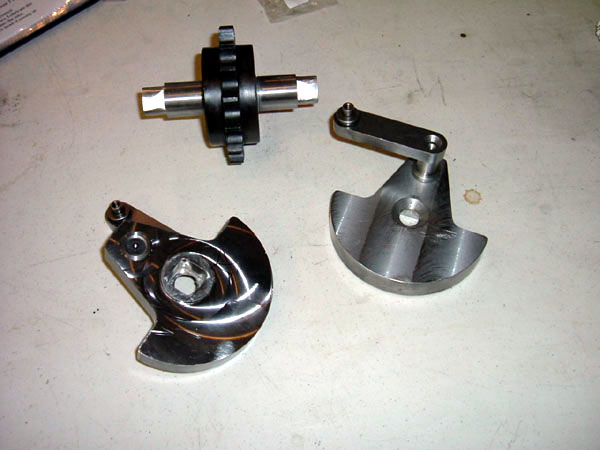
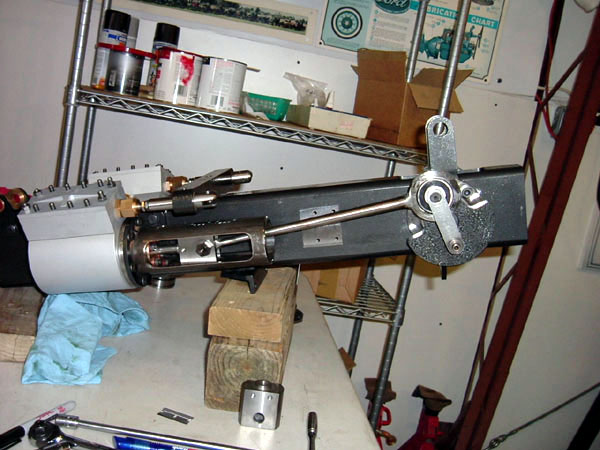
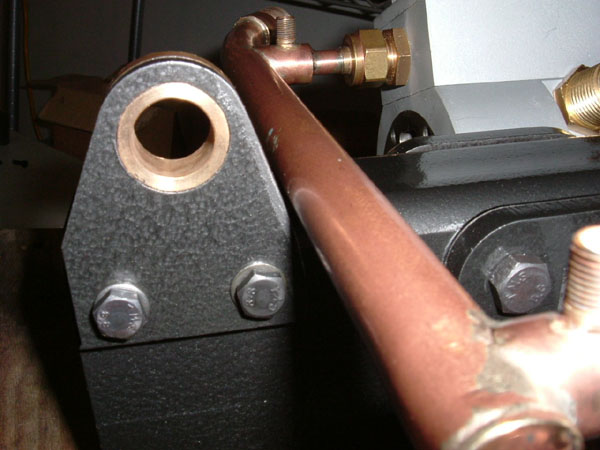
The main steam pipe interferes with the Reversing Bypass brackets.
A slight removal of material from the brackets is required in
order to provide some clearance between the pipe and brackets.
Install bushings LKO0922 (Loctite) into the reverser
tabs on the main beam, align the oil holes and make sure the
shaft fits smoothly. I assembled the valve reversing assembly
as per instructions; I used cotter pins instead of the lock
pins at this point, as it will have to be dismantled again for
the new parts.
Now I can see how the valve assembly operates as I rotate
the crankshaft.
The Kit did not include the countersink screws for the
LK0930 washers to retain the Radius rods. Also; the M6 shoulder
bolt for connecting the valve rod to the steam valve assembly
is not included in the kit.
2.5 Hours
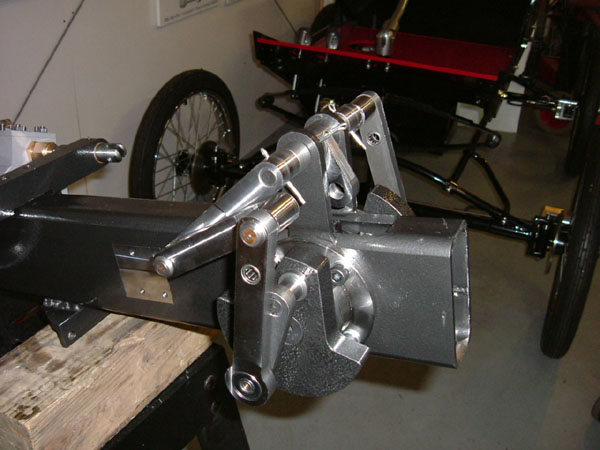
Kit 10 was quite challenging and I enjoyed the build,
even if it's just temporary. MW's has given us a warning that
they know of some problems and are in the process of rectifying
them. The machine work is still at the best; now that I have
the engine assembled it is truly a work of art. The parts that
I say are missing, are not listed on the inventory sheet, but
are shown and labeled in the ISO drawings. I don't know if MW's
missed these or if they are planned for the next kit. The MW's
engineers are doing an outstanding job. I chose to polish all
my brass and copper pieces and quite satisfied with the visual
and the mechanical aesthetics. We are now getting closer to
a finished car.
Happy
Building;
Rick
Click
pictures to enlarge
Likamobile
Home • Kits
One and Two •
Kits
Three and Four • Kits
Four-B and Five •
Caliper Correction
Kits Six and Eight •
Kit
Seven • Kit
Eight • Kit
Nine •
Kit
Ten • Kit
Ten Addendum • Kit Eleven
Kit Twelve •
Kit
Thirteen • Kit Fourteen
• Kit Fifteen •
Year End • Kit
Sixteen • Leaf
Spring Modification
Kits Seventeen / Eighteen
• Engine
Modification • Boiler
Installation • Burner
Installation
Fuel Line, Brake &
Throttle Pedal Installation • Final
Kit • Final Assembly
& Steam Up
Road Test & Modifications
• Purge Modification