October
18, 2006
Kits
14 and 15 arrive. Check parts against inventory list, all accounted
for. Decide what is to be powder coated and what is to be polished.
1.0
Hours
Oct.
19
Drop parts off to the powder coater and polish the brass parts.
2.5
Hours
Oct.
24
There were a lot of machine filings, so clean all the parts
thoroughly.
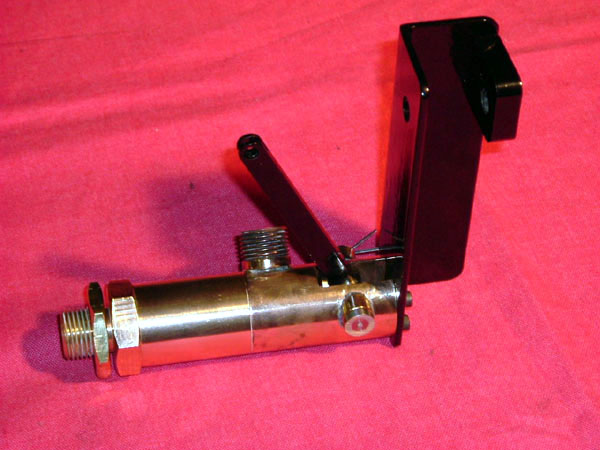
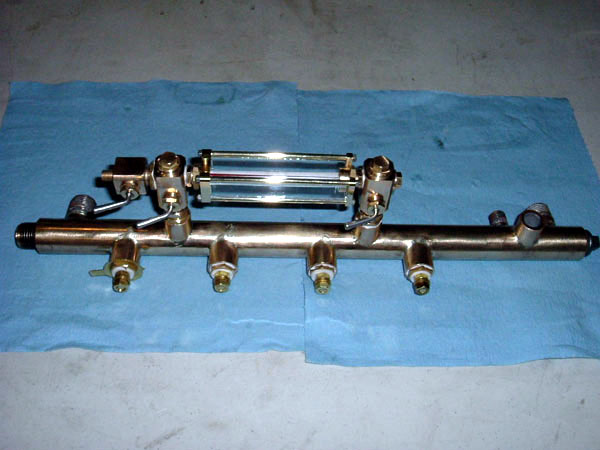
Assemble the steam regulator as per instructions, 2 full
turns of the packing, stacked, is required to make a proper
seal. My drilled assembly required some cleaning of the holes
with a drill bit. Assemble both halves together using the liquid
Teflon thread sealant.
Assemble the Left and Right Check valves and adjust the stops
as described in the instructions. Use a little locktite to hold
the adjustment screw, and seal the cap threads with the thread
sealant.
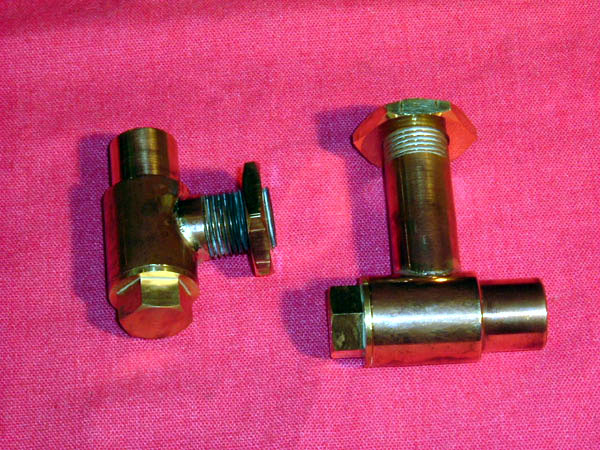
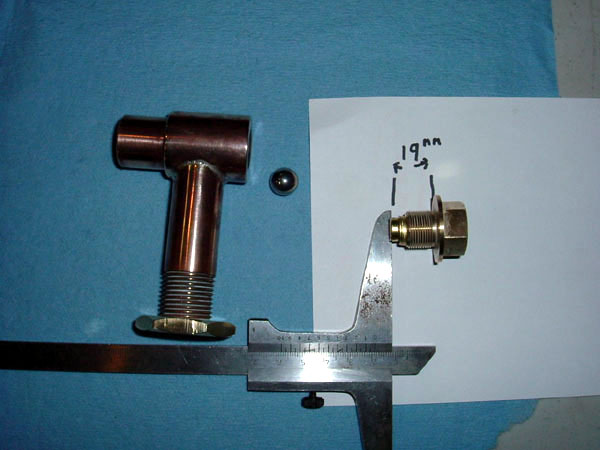
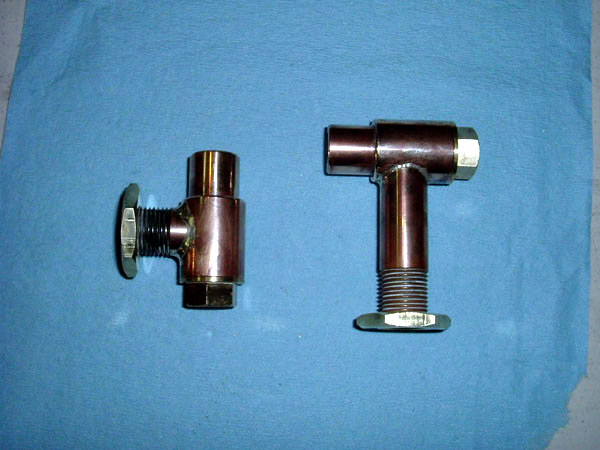
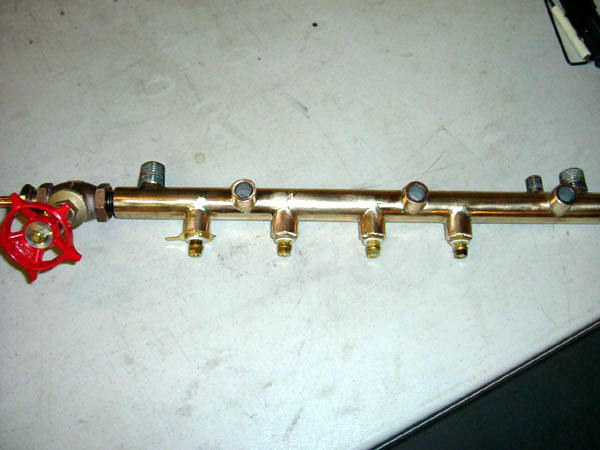
I had to repair the threads on the water/ steam manifold that
screws onto the Globe valve, seems to have been slightly dented
in shipment. I also had to rethread the drip tube fitting to
the globe valve, seems threads were not cut sufficiently.
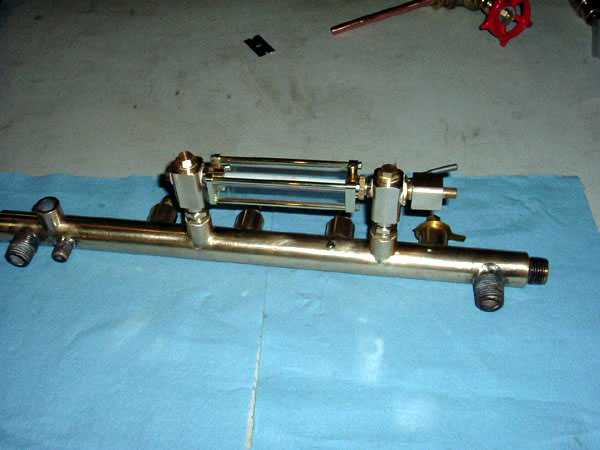
I assembled the 4 water indicators to the manifold, using
sealant.
2.5
Hours
Oct.
25
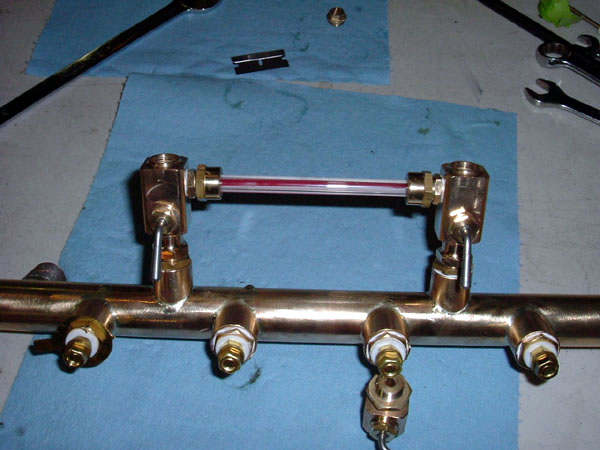
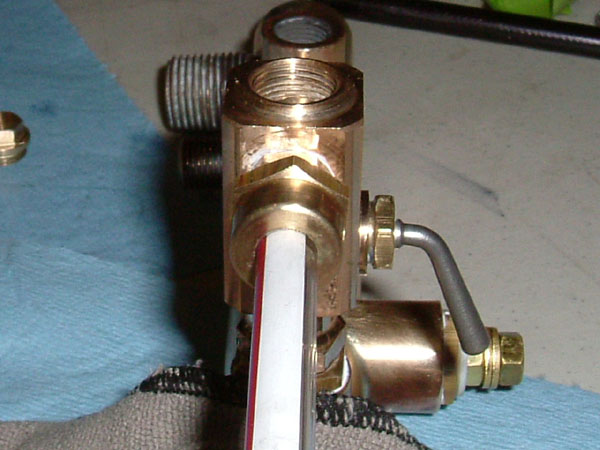
Install the water tube valve into the manifold with the lock
nuts and sealer. I used the glass tube and ferrules to make
sure that the valves are at the same height from the manifold,
(glass tube is parallel to manifold). Install the gland nuts,
seals, and ferrules. Center the tube between the valve bodies
and gradually tighten the gland nuts until snug. Make sure you
keep the gland nut hex parallel with the valve block. I kept
the red line facing the same direction as the water level sensors.
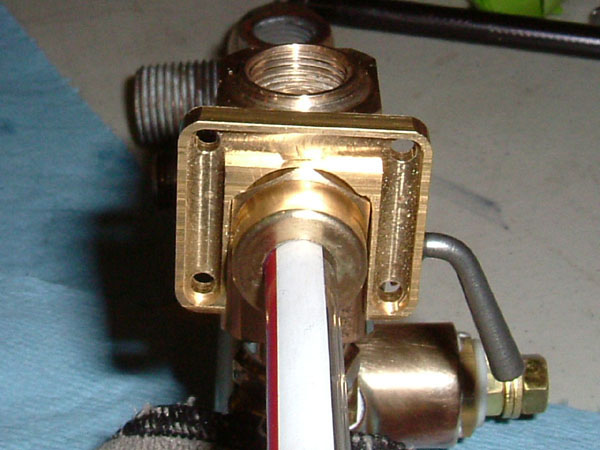
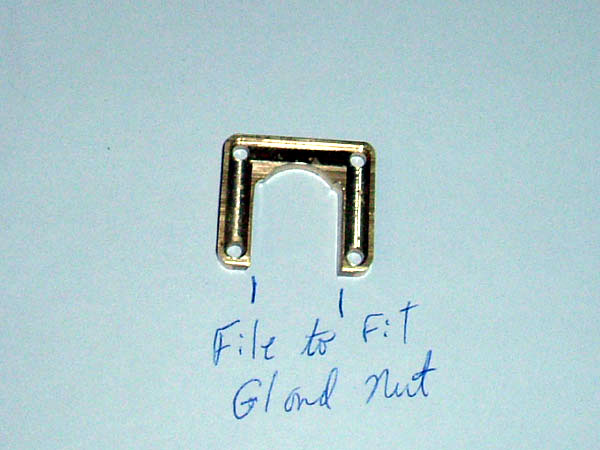
File the top glass retainer (42218) evenly to fit over the gland
nut hex.
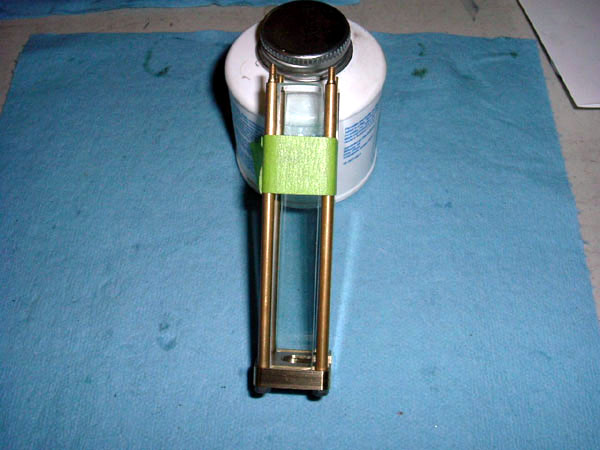
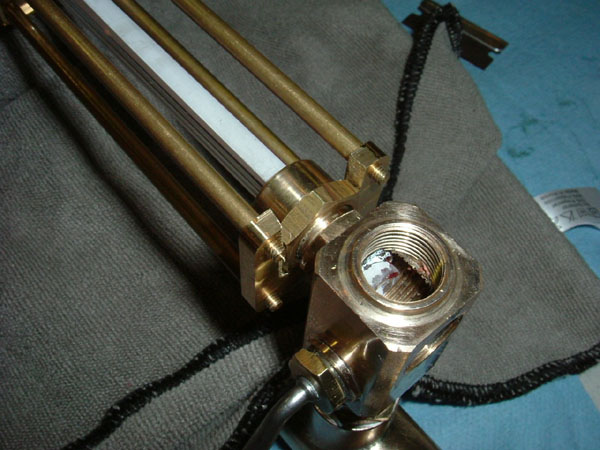
Pre fit the Glass Cage assembly so you understand how
it goes together. My glass rattled when it was assembled, so
I cut some double sided tape to fit in the grooves on the top
assembly.
Install the rods into the base of the cage, insert the 2 side
panes, and hold in place with masking tape. Install onto the
lower gland nut, install the remaining glass pane and secure
with masking tape. Install the top piece (42218) aligning over
the gland nut, rods, and glass panes, install nuts and carefully
tighten evenly. Install the lock screw. Take your time and be
careful so you don't break the glass tube or the panes.
Finish valve assembly as directed, using sealer.
3.0
Hours
As usual ModelWorks has supplied us with outstanding machined
parts. The water level sight glass is gorgeous; a lot of engineering
went into that piece. With the brass all polished these pieces
pop and will only add beauty to the beast. Unfortunately these
pieces do not get installed yet, but I am assured that the boiler
is not far off.
Well I've got a seat to assemble, have fun.
Happy
Building;
Rick
Click
pictures to enlarge
Likamobile
Home •
Kits One and Two
•
Kits
Three and Four •
Kits
Four-B and Five
•
Caliper Correction
Kits
Six and Eight •
Kit
Seven •
Kit
Eight •
Kit
Nine •
Kit
Ten •
Kit
Ten Addendum •
Kit Eleven
Kit
Twelve •
Kit
Thirteen •
Kit Fourteen •
Kit Fifteen •
Year End •
Kit Sixteen •
Leaf Spring Modification
Kits
Seventeen / Eighteen •
Engine
Modification •
Boiler
Installation •
Burner
Installation
Fuel
Line, Brake & Throttle Pedal Installation •
Final Kit •
Final Assembly & Steam
Up
Road Test & Modifications
• Purge
Modification